Did you know that a golf simulator space in your house can actually become reality?
I had this dream around 5 years ago and completed hours of research and was able to build a golf simulator space in my garage.
900 plus rounds later on my golf simulator and I am here to help your dream become a reality.
Could you imagine playing golf 365 days a year on some of the best golf courses? While receiving real time feedback after every shot?
The endless hours of fun, while challenging and improving your golf skills makes it all worth it.
The great news is that golf simulators once cost around $40,000, but I am confident that you can build a really good setup in the $7000 range. Did you know that you can qualify for financing on a golf simulator and turn a big payment into much smaller monthly payments?
Keep reading below for the step by step process and some links to places to price out the golf simulator options!
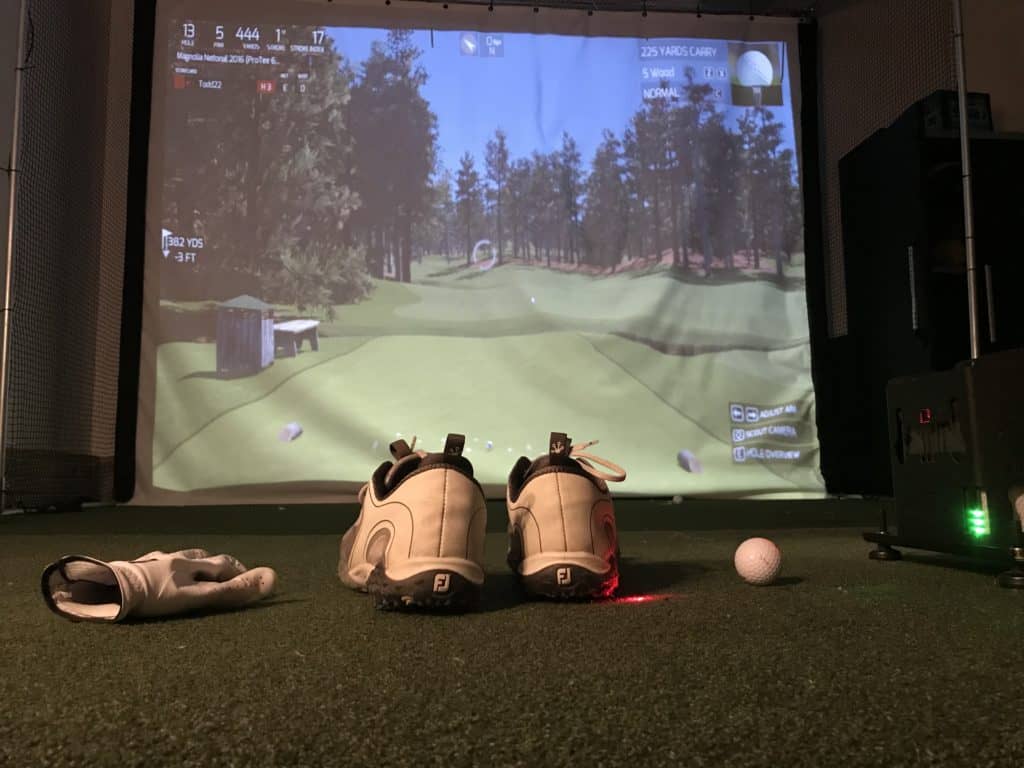
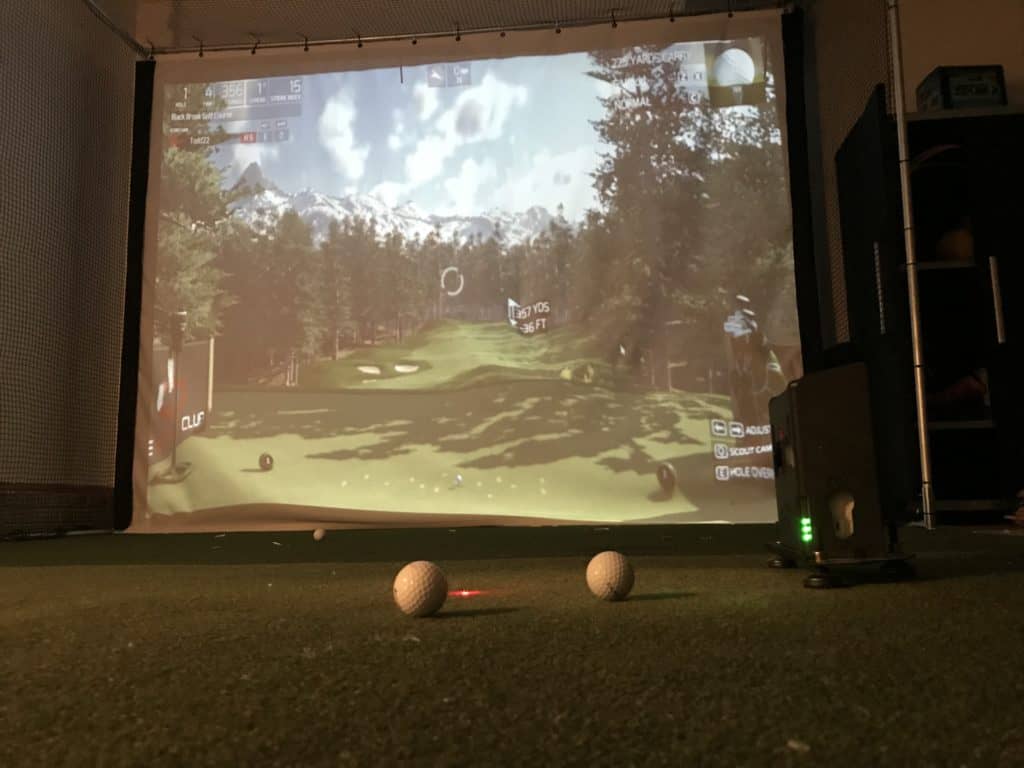
My current setup includes a Skytrak Launch Monitor, The Golf Club Software, Optoma Projector, Gaming Computer, an oversized hitting mat and a 12×9 foot enclosure with a HD impact screen.
Golf Simulator DIY: The Key Steps
- Identify possibly locations in your house
- Measure the numerous space and finalize location
- Determine launch monitor or simulator system
- Select enclosure and screen based on size of room
- Select projector based on your setup
- Determine best hitting mat for your space
- Determine which software you want to run
- Select computer based on software
- Determine if additional turf, carpet is needed in the space
- Have fun! Get Better! Enjoy Family and Friends!
Golf Simulator DIY: Step 1 – Identify possible locations in your house
There are several possibilities for your golf simulator space. The typical locations include the following:
- Basement
- Garage
- Extra Room
- Shed
- Addition
The two most common spaces are a basement or a garage. The tricky part about a basement is often the lack of ceiling height. The most difficult part about a garage is the climate control. While both are potential issues, both can be overcome. The climate control in a garage is easier to control and in some areas there are only several weeks out of a year where this might be an issue.
My recommendation is to clear out the potential possible space and slowly swing a driver to see what might work in your house.
Some people do not have a basement or garage that work and look for an unused room in their house or considerat adding a shed or addition to their house. Of course, a non existing space will add money to your budget.
I went with the garage and it has worked out great. I had a 3 car garage and was able to convert the 3rd bay to my golf simulator space.
Related Posts:
Golf Simulator DIY: Step 2 – Measure the numerous space and finalize location
Now that you have determined potential locations there are two key steps:
- Measure the spaces
- Swing a driver slowly in both spaces
Which of your potential options provides enough space to safely swing a golf club? Take into consideration if you want to be able to play in the middle of the screen or if you are fine with being offset.
Areas to watch for include the total width, total length and the overall ceiling height.
Make a list of what is most important to you. Some items might include:
- What space is ideal?
- Will there be climate control issues?
- Is the space going to be used for other purposes?
Here is a complete post on how much space you need to build a golf simulator.
Golf Simulator DIY: Step 3 – Determine launch monitor or simulator system
There are some quality options in today’s market. Much of this decision is going to be driven by the budget you are able to set. At this point, you should have an idea of how much money you want to spend in total or how much you can afford on a monthly payment plan if you are going to finance.
Here are some options and links you can use to price out your various options:
I highly recommend Rain or Shine golf and one of the complete packages you can buy.
Golf Simulator DIY: Step 4 – Select enclosure and screen based on size of room
Using the rain or shine links above, go ahead and price out the different enclosures and select what is best for yoursetup. A 12’ to 14’ amount of width provides a nice size screen. The most ideal size is the 16’, however, it is not necessary for a quality look and feel to the game.
I would recommend buying the best HD screen you can find. The overall graphics will look sharp when you have a quality screen, quality software, and a high end projector! The size of the screen and enclosure is going to be driven by the space you have available.
If space is abundant go with the 16’ screen and enclosure if your budget allows it!
Golf Simulator DIY: Step 5 – Select projector based on your setup
Are you going to mount your project or place it on the ground? Both are quality options. I recommend mounting if your space is more permanent as it keeps it out of the way and you don’t have to maneuver around it. If you want your space to be more flexible, on the ground might be a good option. Also, if you have other needs for your projector around the house like using it for movie night in another portion of your house, having it on the ground makes it easy to access and move.
Two keys to the projector: HD and Short Throw. You want the best possible quality projector with the ability to keep it within a certain distance of the screen. If the projector gets too far back, your shadow will show up on the projecting screen. This is why a short throw projector is almost a must!
On a tight budget? See post below!
Golf Simulator Build for under $5000
Golf Simulator DIY: Step 6 – Determine best hitting mat for your space
I went with a larger hitting mat, which has given me great flexibility to play with right handed and left handed golfers at the same time. I am also able to move my mat around to provide for the greatest life out of the mat as I have hit from various spots over the 900 rounds that I have played.
Some things to consider. Do you plan on using a real tee? Do you plan on using it everyday? The more frequently you are going to hit golf balls the better the quality of mat needed!
Here is a complete post on our recommended hitting mat!
Golf Simulator DIY: Step 7 – Determine which software you want to run
The software is a major key to the overall experience. Most people want something that looks very realistic! When you are standing on the 7th hole at Pebble Beach you want something that looks as real as possible! You also want a variety of golf courses to choose from. When it all came down to this for me, I selected The Golf Club (TGC) software. They have since also come out with TGC 2019 and I think it is phenomenal and amazingly real!
Several things to consider:
- What software matches the system you selected?
- Budgeted amount for software?
- Do you want a large variety of courses to play?
- How realistic and important are the graphics?
Once you weigh these questions to consider, you will be able to make quality decision for your setup!
Related Posts:
Golf Simulator DIY: Step 8 – Select computer based on software
Now that you have determined your software, there are some things to consider when purchasing your computer. Please note that some softwares will require a gaming computer due to the graphics cards and overall power the computer needs to run the high end software.
If you value the high end graphics and overall real feel of the experience, a quality high end software and a quality gaming computer are a must!
Make sure you look into the FAQs of your selected golf simulator system to understand what computer requirements are needed.
Just how real are golf simulators? See post below!

Golf Simulator DIY: Step 9 – Determine if additional turf, carpet is needed in the space
What is the currency flooring situation in your golf simulator space. Since I selected a garage, cement is what the flooring situation consisted of. I found a thin, turf-like surface that I was able to buy in the right size roll and lay out in my area and under the hitting mat.
This keeps the ball from bouncing around after it is hit into the impact screen and hits the ground. You want this carpet or turf to eliminate bounce and the ball going everywhere!
People have used a variety of options. If you want the most golf-like feel and look I believe a thin turf like material is the best option. There are a variety of options online. The key is to make sure you look at the shipping cost as well. Your local hardware, big box store might have a quality option that you can pick up on your own.
Golf Simulator DIY: Step 10 – Have Fun! Get Better! Enjoy Family and Friends!
The bottom line is that the golf simulator can bring hours of fun, entertainment, game improvement and an opportunity to spend time with family and friends. It is one of the best investments I have made and I haven’t regretted spending the money on a quality setup!
Enjoy the process and watch your game get better every year!

I am an amateur golfer on a journey to get better, enjoy the game as often as possible and share my passion and knowledge with others. I have coached high school golfers at a high level and have a great passion for the game and want to give back. I enjoy learning about the golf swing and am currently studying to be a certified professional golf instructor. Join me in our journey to get better everyday. Thank you for reading!